In this tutorial, we will explore how to integrate Wit.ai with Unity to build a voice-enabled VR app where you can use voice commands to change the color of 3D shapes.

In Unity Hub (version 2019.4.x or later), use the 3D template to create a new project.

Under Window, choose Package Manager.

Click the + in the upper right corner and then choose Add package from git URL.

Paste the Wit-Unity GitHub url (https://github.com/wit-ai/wit-unity.git) in the URL field. Don’t forget to include .git at the end or it won’t work.
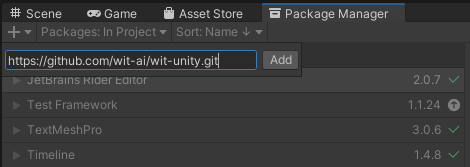
Choose Add. Unity will then import the package into your project.

You can now import samples or begin working with Unity. You’re going to build the “Shapes” sample from scratch in this tutorial, so you won’t import any samples for now.
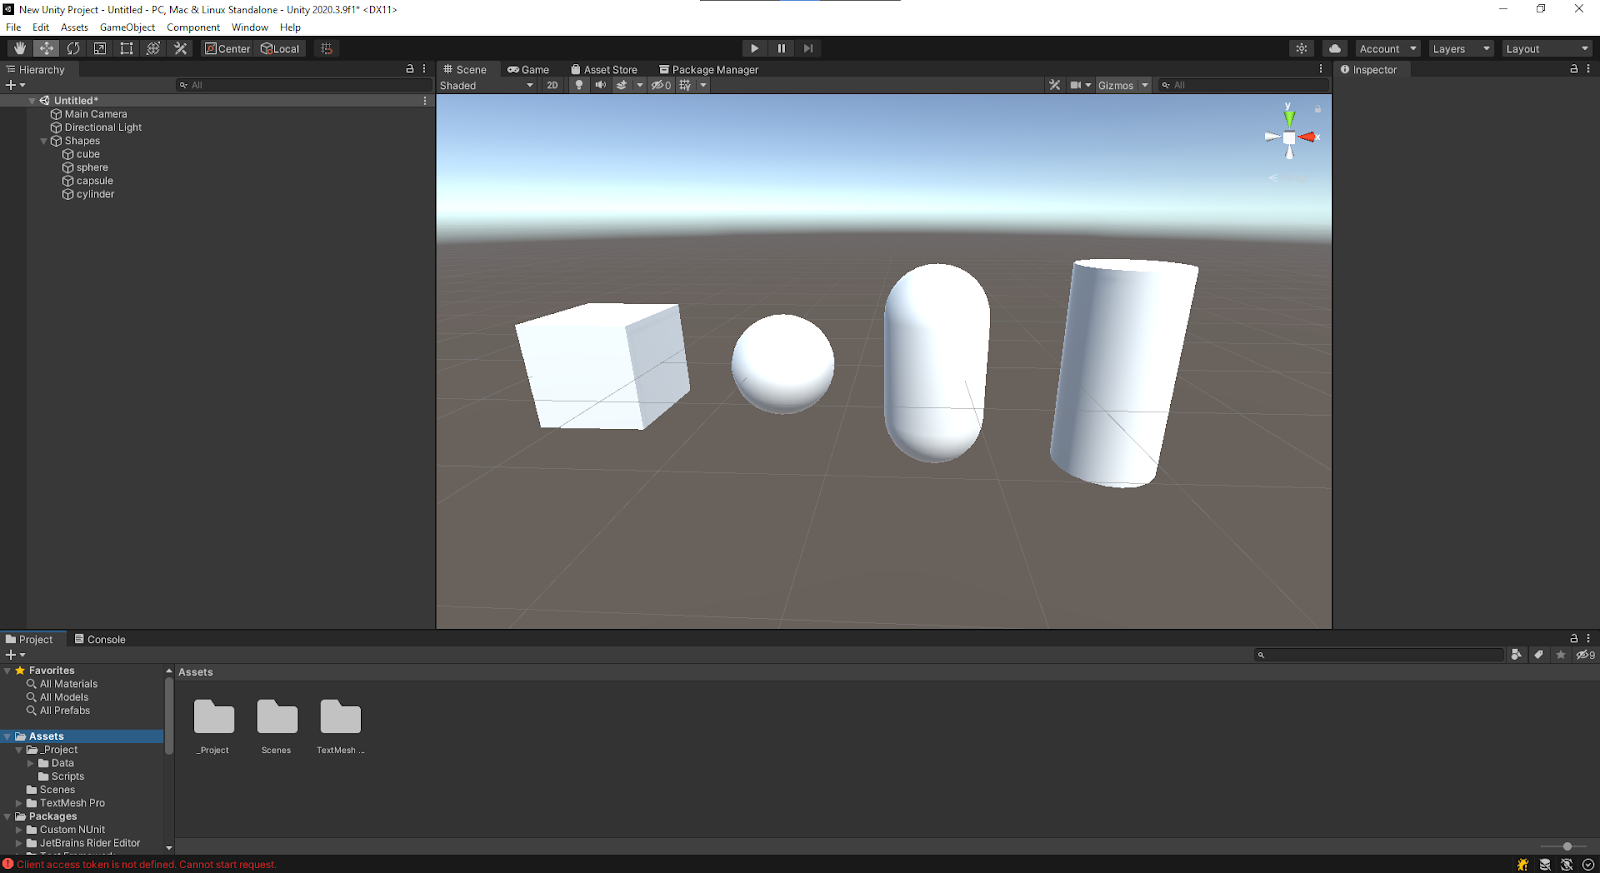
Create a new scene (you can also modify the default sample scene). In this new scene, you’ll set up some shapes and then modify them using voice commands. This will be under a root game object called “Shapes.”
Add four basic shapes to the Shapes game object: a cube, sphere, capsule, and cylinder.
Open the Wit Configuration window under Window → Wit → Wit Configuration.

In the Wit configuration window, click Continue With Facebook to open up https://wit.ai/. You can also go there directly using your browser.

Now you need to get the server token that Unity needs to connect to Wit.ai from your application’s Settings tab. This token will allow Unity to get information about your app and set up your client token for you, which is then used to make requests when voice or text commands are activated. To get this token, choose the Settings tab under Management.

Copy the Server Access Token and return to the Wit Configuration window in Unity. In the Server Access Token here text box, paste the token.

As soon as a valid token is recognized, the post setup configuration page is displayed.
Now you need to create a Wit configuration scriptable object. On the Wit Configuration page, click Create.
You will be prompted to save your configuration in your Assets directory. Close the Wit Configuration page.
Each experience you build in Unity needs an application associated with it. To create one, you’ll need to log into the Wit.ai website and set up your application.
On the Wit.ai website, click Continue with Facebook to log in.

Once you’ve logged in, you’ll be taken to your apps page (https://wit.ai/apps). If you already have apps, there will already be a list of applications here and you could choose one of these to associate with the Unity experience. In this case, however, you’ll create a new app.
Click the New App button.

Provide a name for your app. As a general rule, you should use lowercase characters with underscores separating words and numbers.

Choose Create and your new application’s Understanding page will be displayed.
In this tutorial, you want to control the color of the shapes you’ve created. To do that, you need to create an intent. An intent is what the user wants to do--in this case, change the shape’s color. When a user says something in your app, it’s sent to your Wit app to go through Natural Language Understanding (NLU) processing. If the NLU determines the user’s phrase matches your intent, you will get a callback in your Wit Unity app with the intent along with any associated data. Generally, it’s best to train the Wit app with several phrases that a user could say that would match what you want your app to do. With multiple options, the NLU can use machine learning on the backend to broaden what it recognizes as a match.
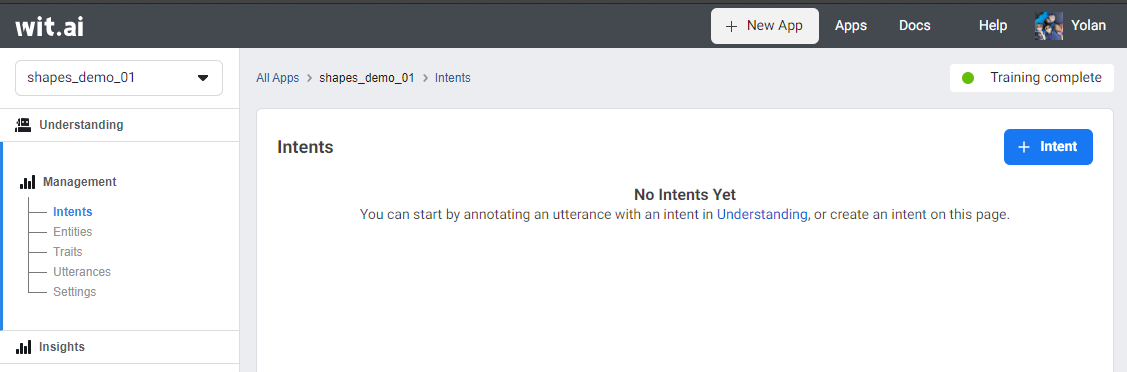
Choose Intents under the Management section of the left bar, and then click + Intent.
Under the New custom intent, enter the name of your intent (in this case “change_color”), and then choose Next.

Once you have created your intent, you now need to train the Wit.ai model.
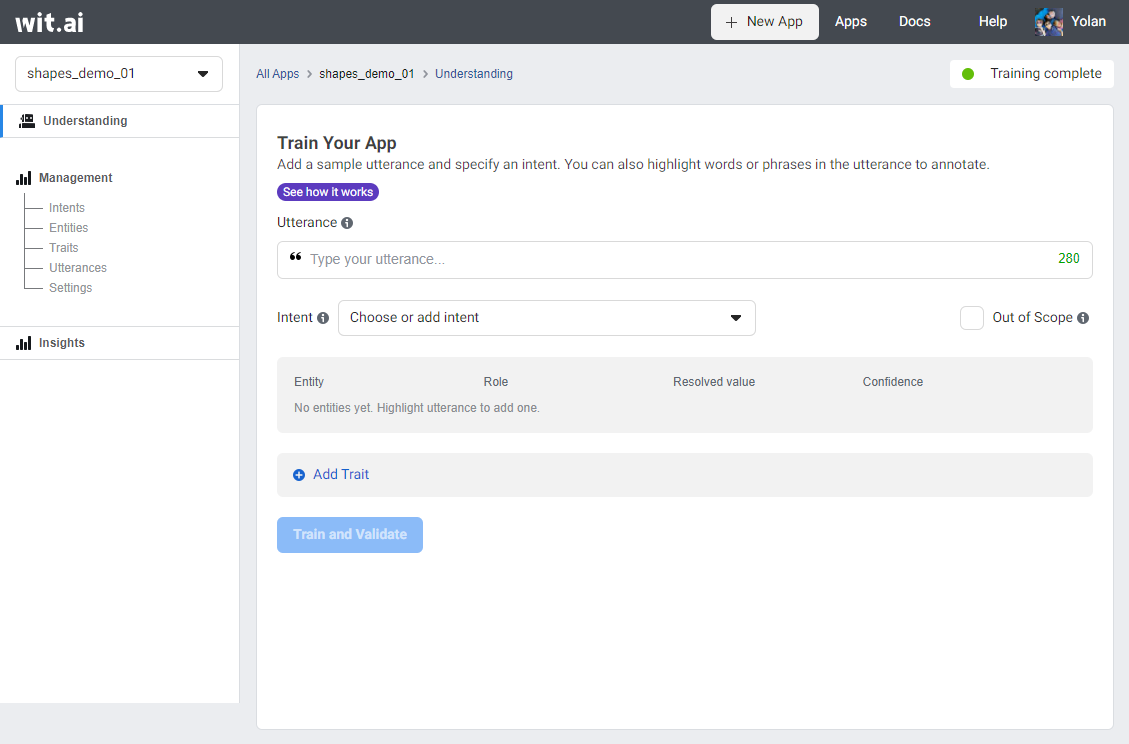
With an intent in place, you can now add an utterance. Utterances are phrases that a user may use to change the color of one of the shapes, and you use these to begin training your app.
Choose the Understanding tab on the left. In the Utterance field, enter “make the cube green.” This will be the first phrase you’ll use to train your Wit app. When the user gives a command such as “make the cube green” or “the cube should be green,” you should get a callback in Unity with the name of the shape to change and its new color.

With your first utterance, you need to either choose an existing intent from the dropdown box or add an intent. In this case, choose the “change_color” intent you created earlier.

You also want to label parts of the utterance that are important and assign it an entity type to train the Wit app to identify them. In this case, the words “cube” and “green”
After training the app, it will also start to automatically recognize some entities on its own. You’ll notice that there are built-in entities already, but for the purpose of this tutorial we’ll be creating custom entities for shapes and colors.
To do this, under Utterance, highlight “cube” and then enter “shape” in the Entity for “cube” field. Click + Create Entity.

“Cube” is now highlighted with the same color shown for the entity.

Now add a color entity using the same process.

Click Train and Validate to train your app.
After training, the Utterance field will start to identify entities that are included. While it may successfully populate the intent from the start, it can sometimes miss on matching what goes in the entities. If this is an issue, try training several phrases and then tweaking the NLU’s mistakes along the way. Highlight the word that should be matched and set the correct entity. You can then click the X next to the incorrect entities to remove them.

You can further improve the accuracy of your app by including synonyms for your shapes. By default, Wit.ai attempts to match entities with both free text and keywords. However, you can improve the precision a little more by switching to a Keyword lookup strategy, since you have fairly specific names of the shapes to work with.
Note: This may improve the precision of your app, but not the recall. For more information, see Which entity should I use? in the Wit.ai documentation.
To do this, open the Entities tab under Management.

Choose a shape entity to open the entity configuration page.

Lookup Strategies, select Keywords, and then add the names and likely synonyms of each shape. In the Keyword field, make sure you match the case of the game object you created in Unity, so it can find that game object when the intent callback is triggered.

Notice the extra synonym for cylinder. This permits you to get the text “cylinder” back from the intent callback if a user says “tube.”
Now we need to add the main Wit component to your scene.
Add a new GameObject to your scene and name it “Wit.” Then, add a Wit component to that GameObject.

Set the configuration of the Wit component to use the configuration you created. Wit is now ready to be used in your scene.
To see how an interaction might behave in Unity, you can test your utterances in the Editor. You can also use this tool to grab the intents, entity values, or confidence values you want to use to react to an intent.
Select Window → Wit → Understanding Viewer.

Enter “the cube should be red” in the Utterance field and click Submit.
The result returned from the utterance can be seen below in JSON. You can browse the hierarchy of the data that is returned here.

Under the entities → color:color node, for example, you can select value = red. You can use this to copy either the data path or a code segment that directly accesses the data via a WitResponseData node. If you’ve selected a game object, you’ll also see options to add components to the game object that will receive callbacks when they match this intent.
Next, you’ll match the response on the “change_color” intent when it has color and shape values.
Create a game object under the Wit game object you added earlier to your scene and call it “Color Handler.” Select Window → Wit → Understanding Viewer to return to the Wit Understanding window. Under the value = red node, select Add Multi Value Handler to Color Handler.

Under the shape:shape node, find the shape value.
With the “Color Handler” game object still selected, choose Add value to the Multi Value Handler.

In the Multi Value Handler, two paths should now be listed under Value Paths.

These values are the paths you can manually enter to get the entity values.
witResponse["entities"]["shape:shape"][0]["value"].Value

witResponse["entities"]["color:color"][0]["value"].Value
You can also reference these values directly using the Copy Code to Clipboard option.
With the handler set, you now need a script to consume the color values, find the shapes, and change colors. The following shows an example of such a script.
public class ColorChanger : MonoBehaviour
{
   private void SetColor(Transform transform, Color color)
   {
       transform.GetComponent<Renderer>().material.color = color;
   }

   public void UpdateColor(string[] values)
   {
       var colorString = values[0];
       var shapeString = values[1];

       if (ColorUtility.TryParseHtmlString(colorString, out var color))
       {
           if (!string.IsNullOrEmpty(shapeString))
           {
               var shape = transform.Find(shapeString);
               if (shape) SetColor(shape, color);
           }
           else
           {
               for (int i = 0; i < transform.childCount; i++)
               {
                   SetColor(transform.GetChild(i), color);
               }
           }
       }
   }
}
Add this script to the Shapes game object we created earlier.
Click the Color Handler game object and locate the On Multi Value Event (String[]) at the bottom of the component. Choose + to add a new event callback.

Drag the Shapes object to the object field and select ColorChanger → UpdateColor from the function dropdown. Ensure that you select the dynamic method, so it gets populated with the entity results.

Wit does not currently provide any prefabs, gestures, or wake words to activate and send data to the Wit servers. However, the Wit script provides two methods you can use to hook up your activation method of choice.
There are a few important methods that can be used for activation and deactivation of a Wit.ai voice command.
Activate(string) - This method takes the content of a provided string and sends it to Wit.ai for the NLU to process. This is useful if you are using some form of on-device ASR for transcriptions.Activate() - This method turns on the default mic on your device and for 10 seconds, it listens for voice commands. If the user is quiet for 2 seconds, or if it reaches the 10 second mark the mic will stop recording.Deactivate() - This method stops the microphone from recording and sends any data collected. This enables you to have more control over your activation. For example, if you’re using a wand to cast a spell, you could have the wand activate when the user presses the grip on a controller and deactivate when they release.For this, we will perform a simple button press activation.
Create a new script called WitActivation and add it to the Wit game object or an object of your choosing. The following shows an example of such a script, which detects if the spacebar is pressed, and when it is, Wit is activated.
public class WitActivation : MonoBehaviour
{
   [SerializeField] private Wit wit;

   private void OnValidate()
   {
       if (!wit) wit = GetComponent<Wit>();
   }

   void Update()
   {
       if (Input.GetKeyDown(KeyCode.Space))
       {
           wit.Activate();
       }
   }
}
It is helpful to provide visual feedback to the user, telling them when the microphone is active, and they can tell the shapes to change colors. The simplest way to provide that feedback is to show some text when the microphone is active. This can be done by creating a text UI that tells the user how to activate the microphone and is then updated with the current status. The Wit object has a fold out that contains all of the lifecycle events of a Wit activation.

Here you’ll set the text of a text object to “Listening…” when the microphone is active and then back to “Press the spacebar to begin listening” when the microphone is closed. Start by adding a Text Mesh Pro text field to the scene and setting it to “Press the spacebar to activate.”

Next, add callbacks to the OnStartListening, OnStoppedListening, and OnResponse events on the Wit game object. Drag the Text Mesh Pro object into the object field for each of these events and then select the text field from the function dropdown menu. For OnStartListening, set the text to “Listening,” for OnStoppedListening, set the text to “Processing,” and for OnResponse, return to the default text.


With this done, the project is complete. Press the Play button, and once Unity enters play mode, you can press the spacebar to activate your voice experience. You can then say “Make the cube red” and the cube will turn red. If you want to see the data come in after a voice command, open the understanding viewer and select the Wit object. This will link the Wit object to the Understanding Viewer and all responses will be displayed there.

At the start, your initial results may not be very accurate, and you may have to try several times before it recognizes what you say. The following suggestions can help you improve your results.

